Here are instructions on how to create a “Make a payment” page for a Service Portal:
1. Log into the WordPress dashboard for the client Service Portal.
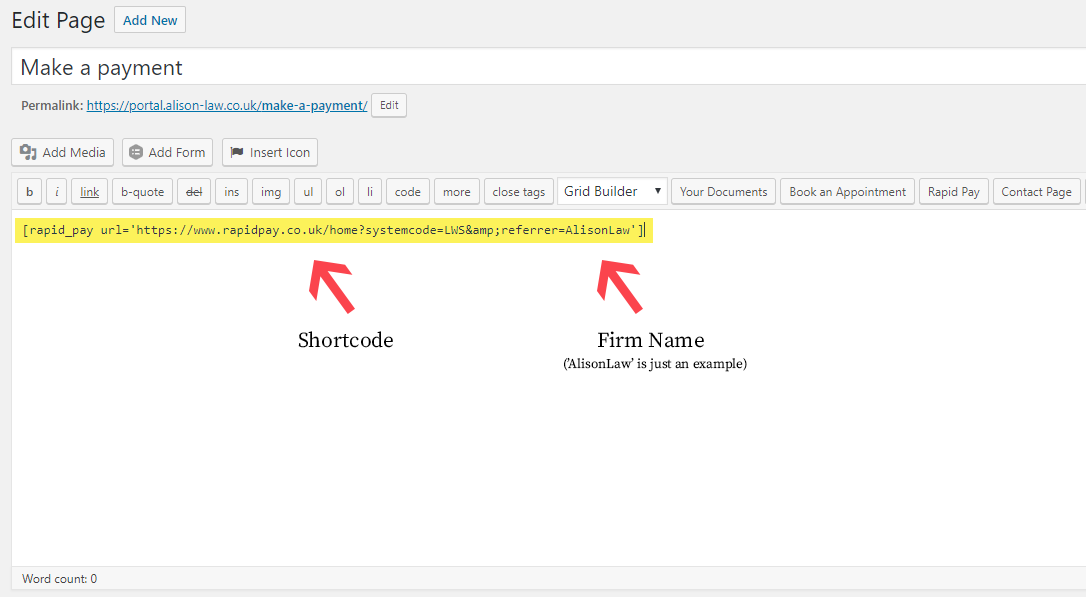
2. Create a new page named “Make a payment”: Pages >> Add New
3. Whilst in ‘Text’ view, paste the following shortcode into the body section of the page: [rapid_pay url=’https://www.rapidpay.co.uk/home?systemcode=LWS&referrer=firmname’]
4. Add the following script to the ‘body scripts’ section of the page:
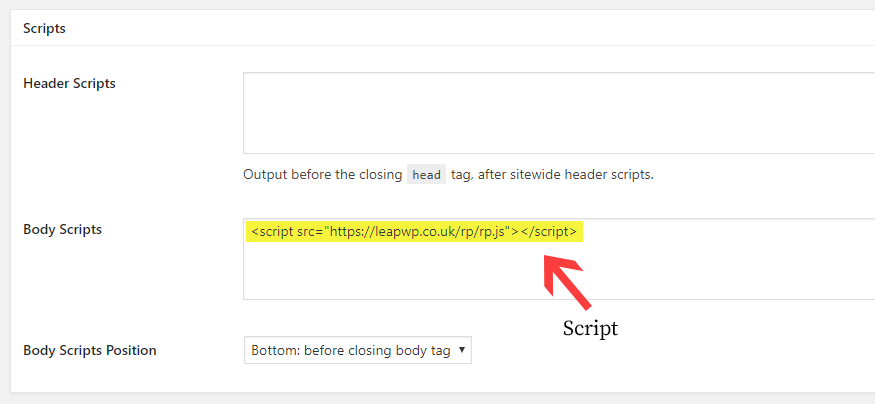
If you do not have the WordPress access required to add a script yourself, please ask a Team Leader to add the script.
5. After you completed steps 3 & 4, click on the blue ‘Publish/Update’ button for the page.
6. Next, go to the ‘My Custom CSS’ section within WordPress and add the following:
/*--RapidPay iframe--*/

.rapid_pay iframe {margin:0px auto 0; width: 780px; }

.rapid_pay iframe .checkout-outer {min-height: 500px; margin-top:0;}
7. Click the ‘Save’ button that appears in the top right-hand corner.
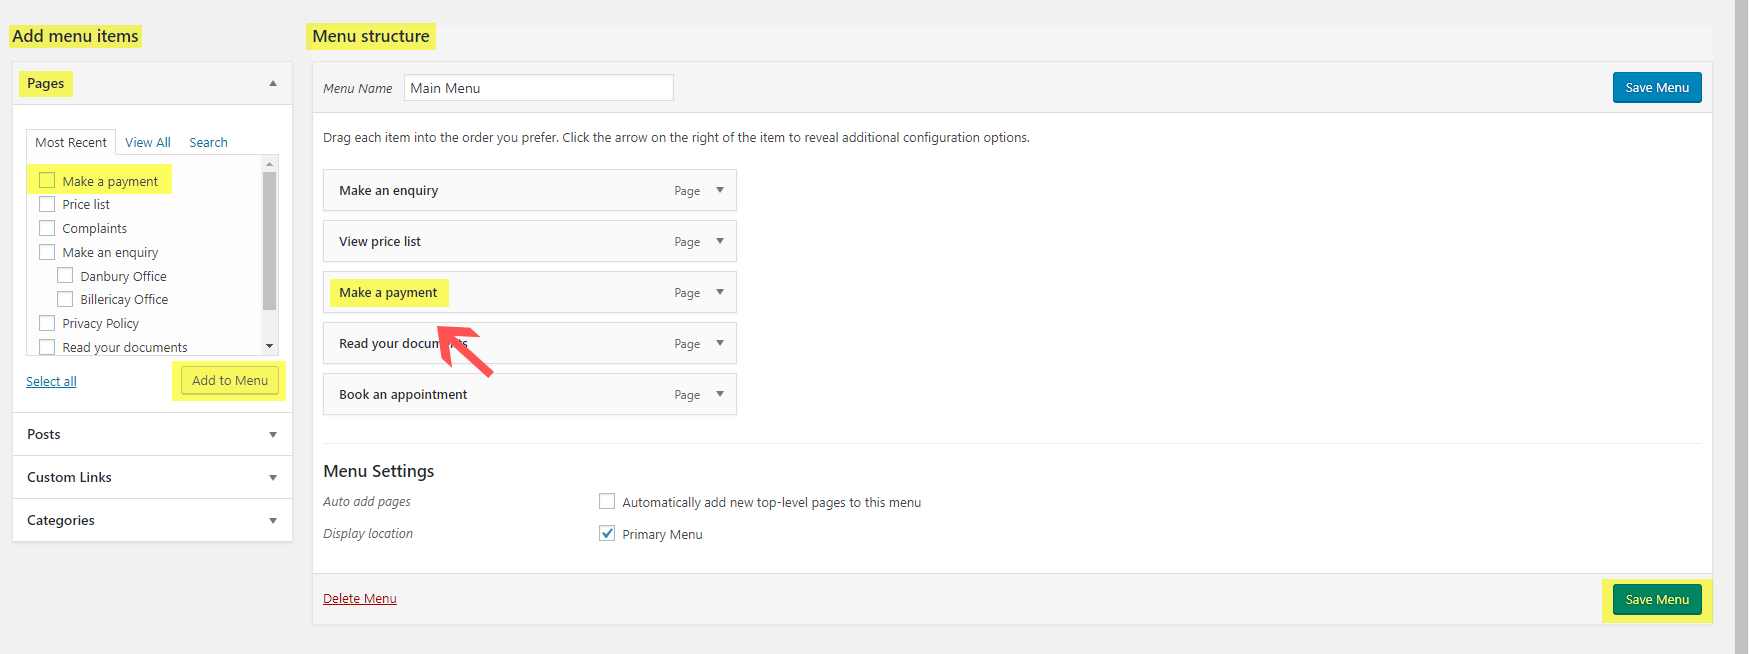
8. Add the new “Make a payment” page that you created to the Service Portal menu: Menus >> Add Menu Items >> Pages >> Tick the “Make a payment” page option >> Click “Add to Menu” >> Menu Structure >> Drag and Drop the “Make a payment” block into the correct Menu position >> Click “Save Menu”
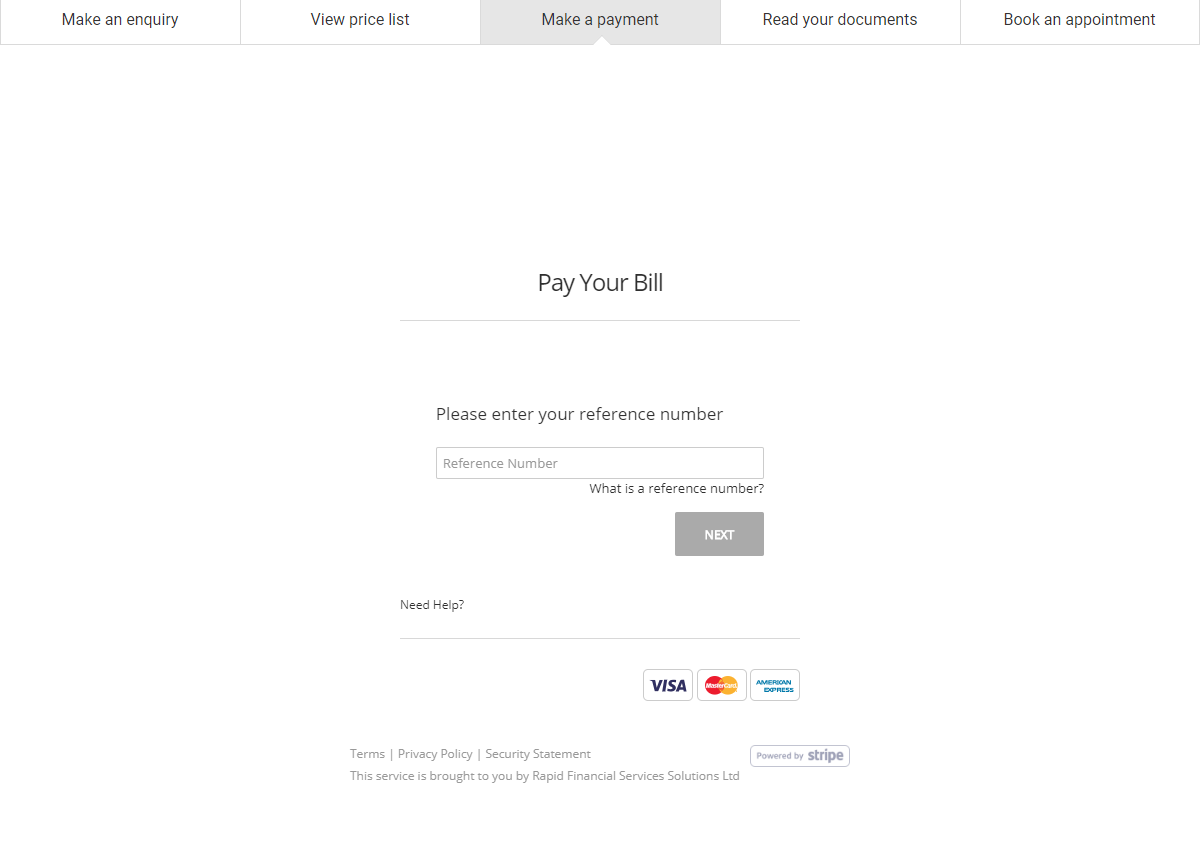
9. Test that the page is working correctly by visiting the page. It should look something like this…
10. Update the “RapidPay Added” and “Payment’s Page URL” fields within the “Addons and Extras” section of the clients SalesForce Service Portal record.
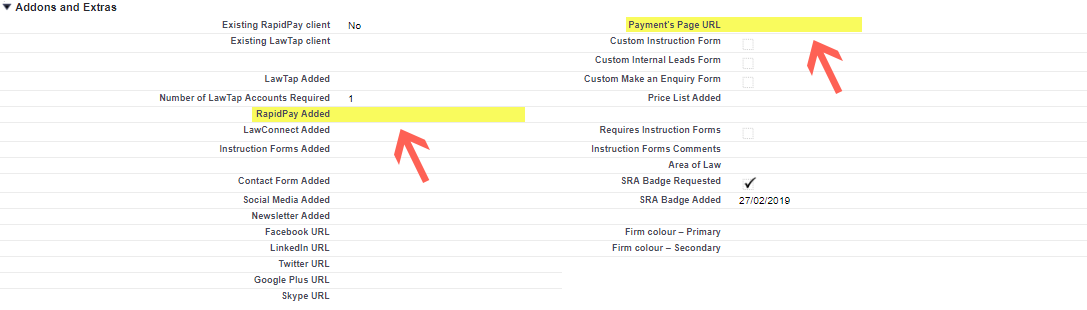
If you do not have the SalesForce access required to add this information into the SalesForce Service Portal record, please ask a Team Leader to add it.